Hello there, well I'm back today with something a little bit different than a card, I thought I'd create tutorial on how you can create those gorgeous stitched effect panels without having to purchase those rather expensive dies and create them on your silhouette cameo.
I love the stitched panel look at moment, which is bang on trend at the moment and I love them so much and if you have been following me over at Instagram over past few weeks, You would've seen me cutting out loads of these at a time. You can fit four panels for a A2 (US size) card blank on one sheet of A4 ( UK size) piece of card.

To get the required size for the panel, I usually create rectangle and change the width to 3.692 inch by the height 4.968 inch and click apply and lock aspect.
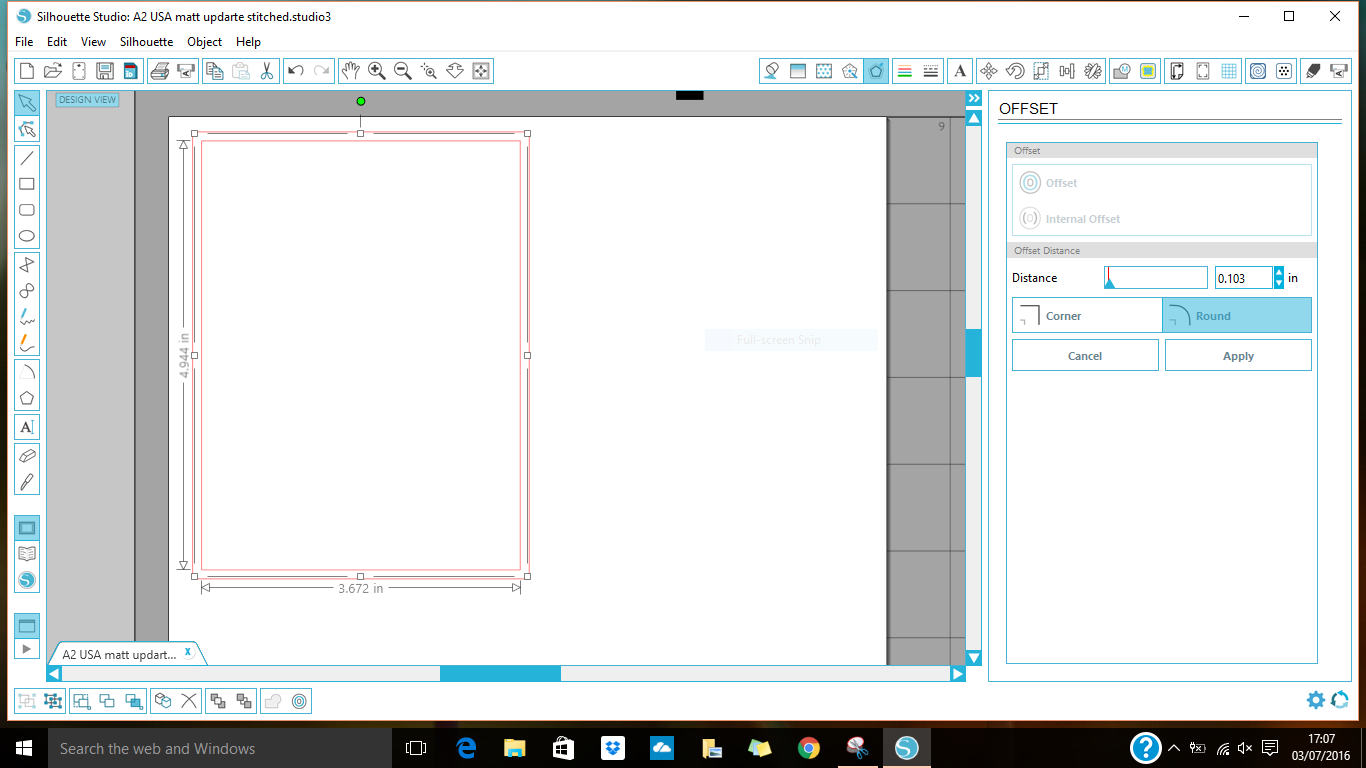
Next I click on the internal offset at the distance of 0.103 inch and click corner, so the corners are squared.

Go into line style and pick the line style you wish to use, I tend to use the one shown above, changing the line distance to 1.7pt and selecting flat in the end cap style box and corner in the corner style box.

Create a box around them all using your mouse, then I click on align center, once this is done I group them together

Now it's ready to cut on your silhouette cameo, now you can change the design or create nesting panels and frames from this one element and it's certainly a frugal way of crafting without the expense of purchasing extra dies. You can do this all the Silhouette machines including the portrait.
(Top tip - I always use Cricut mats with my silhouette as I do find them a lot more cost effective than the silhouette ones. If your machine is still in warranty, do double check that you want to use the cricut mats as it can invalidate your warranty. My machine is out of warranty so I use these awful lot and even when my machine was in warranty I still used the Cricut mats without any problems)
I hope you find this tutorial helpful, would you like more tutorials like this in future? Is there anything you're struggling with using the silhouette cameo?
(Top tip - I always use Cricut mats with my silhouette as I do find them a lot more cost effective than the silhouette ones. If your machine is still in warranty, do double check that you want to use the cricut mats as it can invalidate your warranty. My machine is out of warranty so I use these awful lot and even when my machine was in warranty I still used the Cricut mats without any problems)
I hope you find this tutorial helpful, would you like more tutorials like this in future? Is there anything you're struggling with using the silhouette cameo?

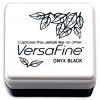
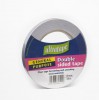
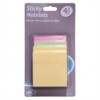
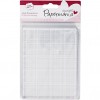
(Click images to be taken the stores where I've purchased items from, I do not use affiliate links )